I'm working on a project using Hugo static site generator. Within it, I wanted to insert into a page from a data file. This data file can be written in YAML, JSON, or TOML format. I couldn't find an article that explains how to do that, so here's one.
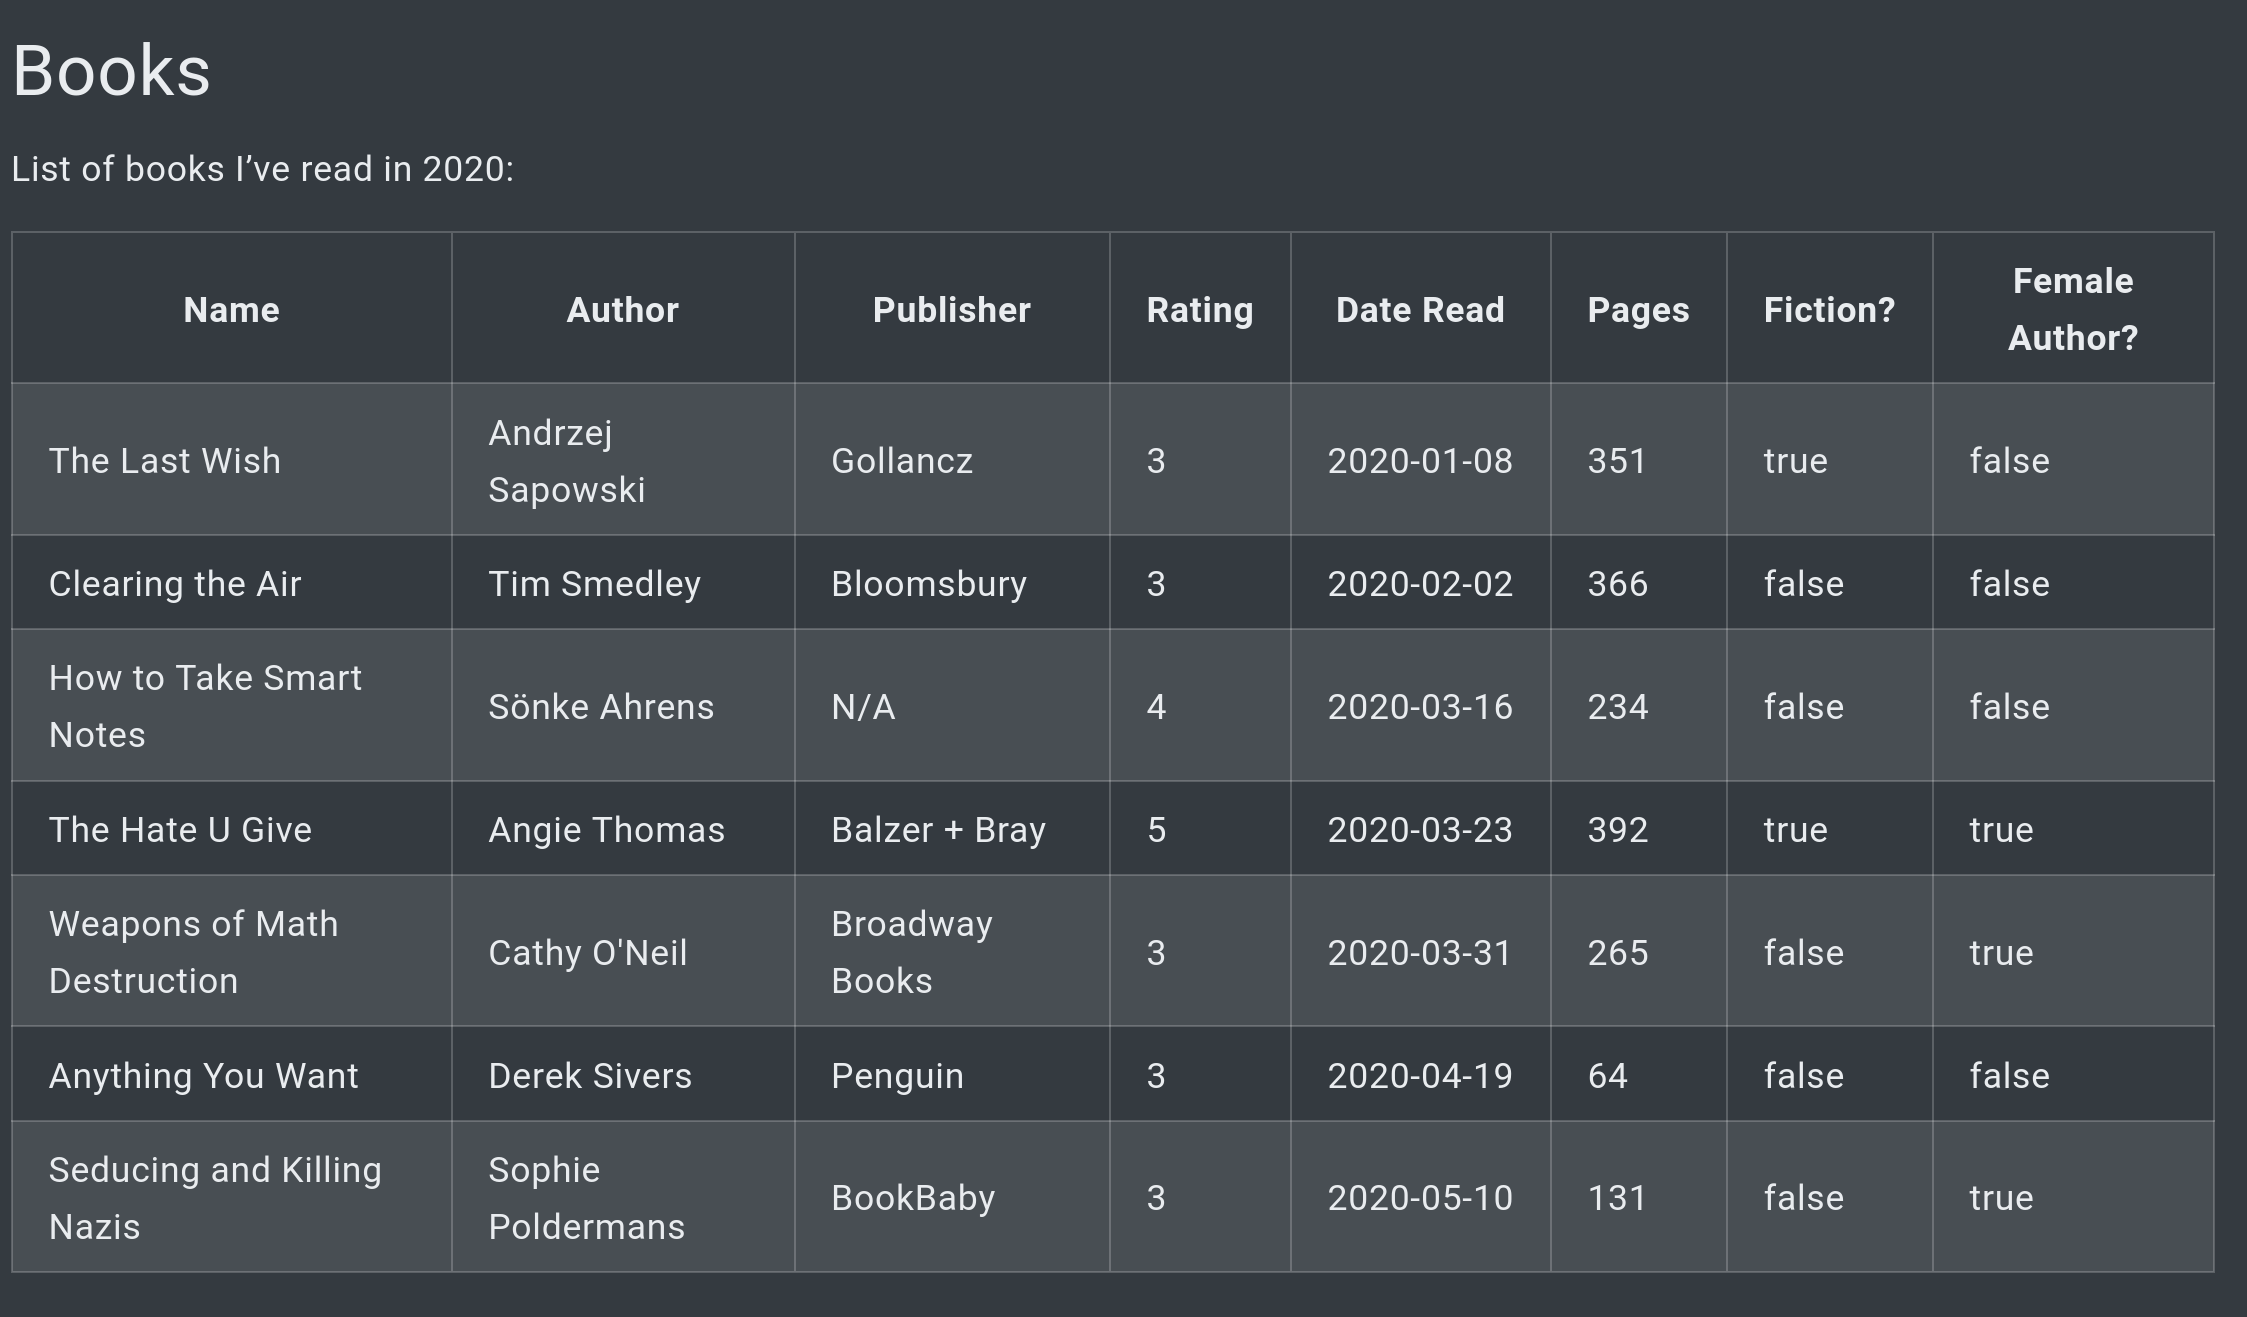
The end result
With a dead-simple Markdown file:

I'm able to create the following result:
Here's how.
The data
Inside my Hugo project, I have a file called data/books_read.yml. An example record found there looks like this:
  books:
  - name: The Hate U Give
    author: Angie Thomas
    pages: 392
    publisher: Balzer + Bray
    date_read: 2020-03-23
    fiction: yes
    female_author: yes
    rating: 5
When I embed the shortcode (following line in my Markdown file: {{< book-list data="books" >}}), I'm calling a file found in layouts/shortcodes/book-list.html. In case you're not familiar with Hugo's shortcodes, it's a handy way of creating reusable components that you can call over and over again within your content.
For example, instead of adding YouTube's embed link again and again, you can put that embed code within layouts/shortcodes/youtube-embed.html and call it with {{< youtube-embed "dQw4w9WgXcQ">}}. If you want to do something to every YouTube embed you have added to your website (for example, to enable/disable full screen control), you can just change it in one place and your change will be propagated to every YouTube embed you've added to your content. Pretty neat!
My layouts/shortcodes/book-list.html looks like this:
{{ if .IsNamedParams }}
<table id="book-table">
  <thead>
    <tr>
      <th>Name</th>
      <th>Author</th>
      <th>Publisher</th>
      <th>Rating</th>
      <th>Date Read</th>
      <th>Pages</th>
      <th>Fiction?</th>
      <th>Female Author?</th>
    </tr>
  </thead>
  <tbody>
  {{ $data := index $.Site.Data.books_read $.Params.data }}
  {{ range $data }}
    <tr>
      {{ partial "books" . }}
    </tr>
  {{ end }}
  </tbody>
<table>
{{- end -}}
First I'm checking to see if an argument was passed to the shortcode. If that requirement is satisfied, a simple HTML table gets created with the first (header) line defined. I then loop through each book found in my data file (in this case, data/books_read.yml) and pass the data to a partial template (found in layouts/partials/books.html). This partial template is responsible for adding <td> elements to the table for each book in my data file:
<td>{{ .name }}</td>
<td>{{ .author }}</td>
<td>{{ .publisher }}</td>
<td>{{ .rating }}</td>
<td>{{ .date_read }}</td>
<td>{{ .pages }}</td>
<td>{{ .fiction }}</td>
<td>{{ .female_author }}</td>
When I want to add another book to my page, I simply add a couple of fields to my YAML file and a new line in my table will get generated without me having to bother with writing HTML.
Another advantage of using this approach is that I don't have to write data in the exact same order as I would be forced to do if I had to write <td> elements over and over again.
  books:
  - name: The Hate U Give
    author: Angie Thomas
    pages: 392
    publisher: Balzer + Bray
    date_read: 2020-03-23
    fiction: yes
    female_author: yes
    rating: 5
...and
  books:
  - name: The Hate U Give
    date_read: 2020-03-23
    publisher: Balzer + Bray
    pages: 392
    fiction: yes
    author: Angie Thomas
    rating: 5
    female_author: yes
...will provide the exact same result.

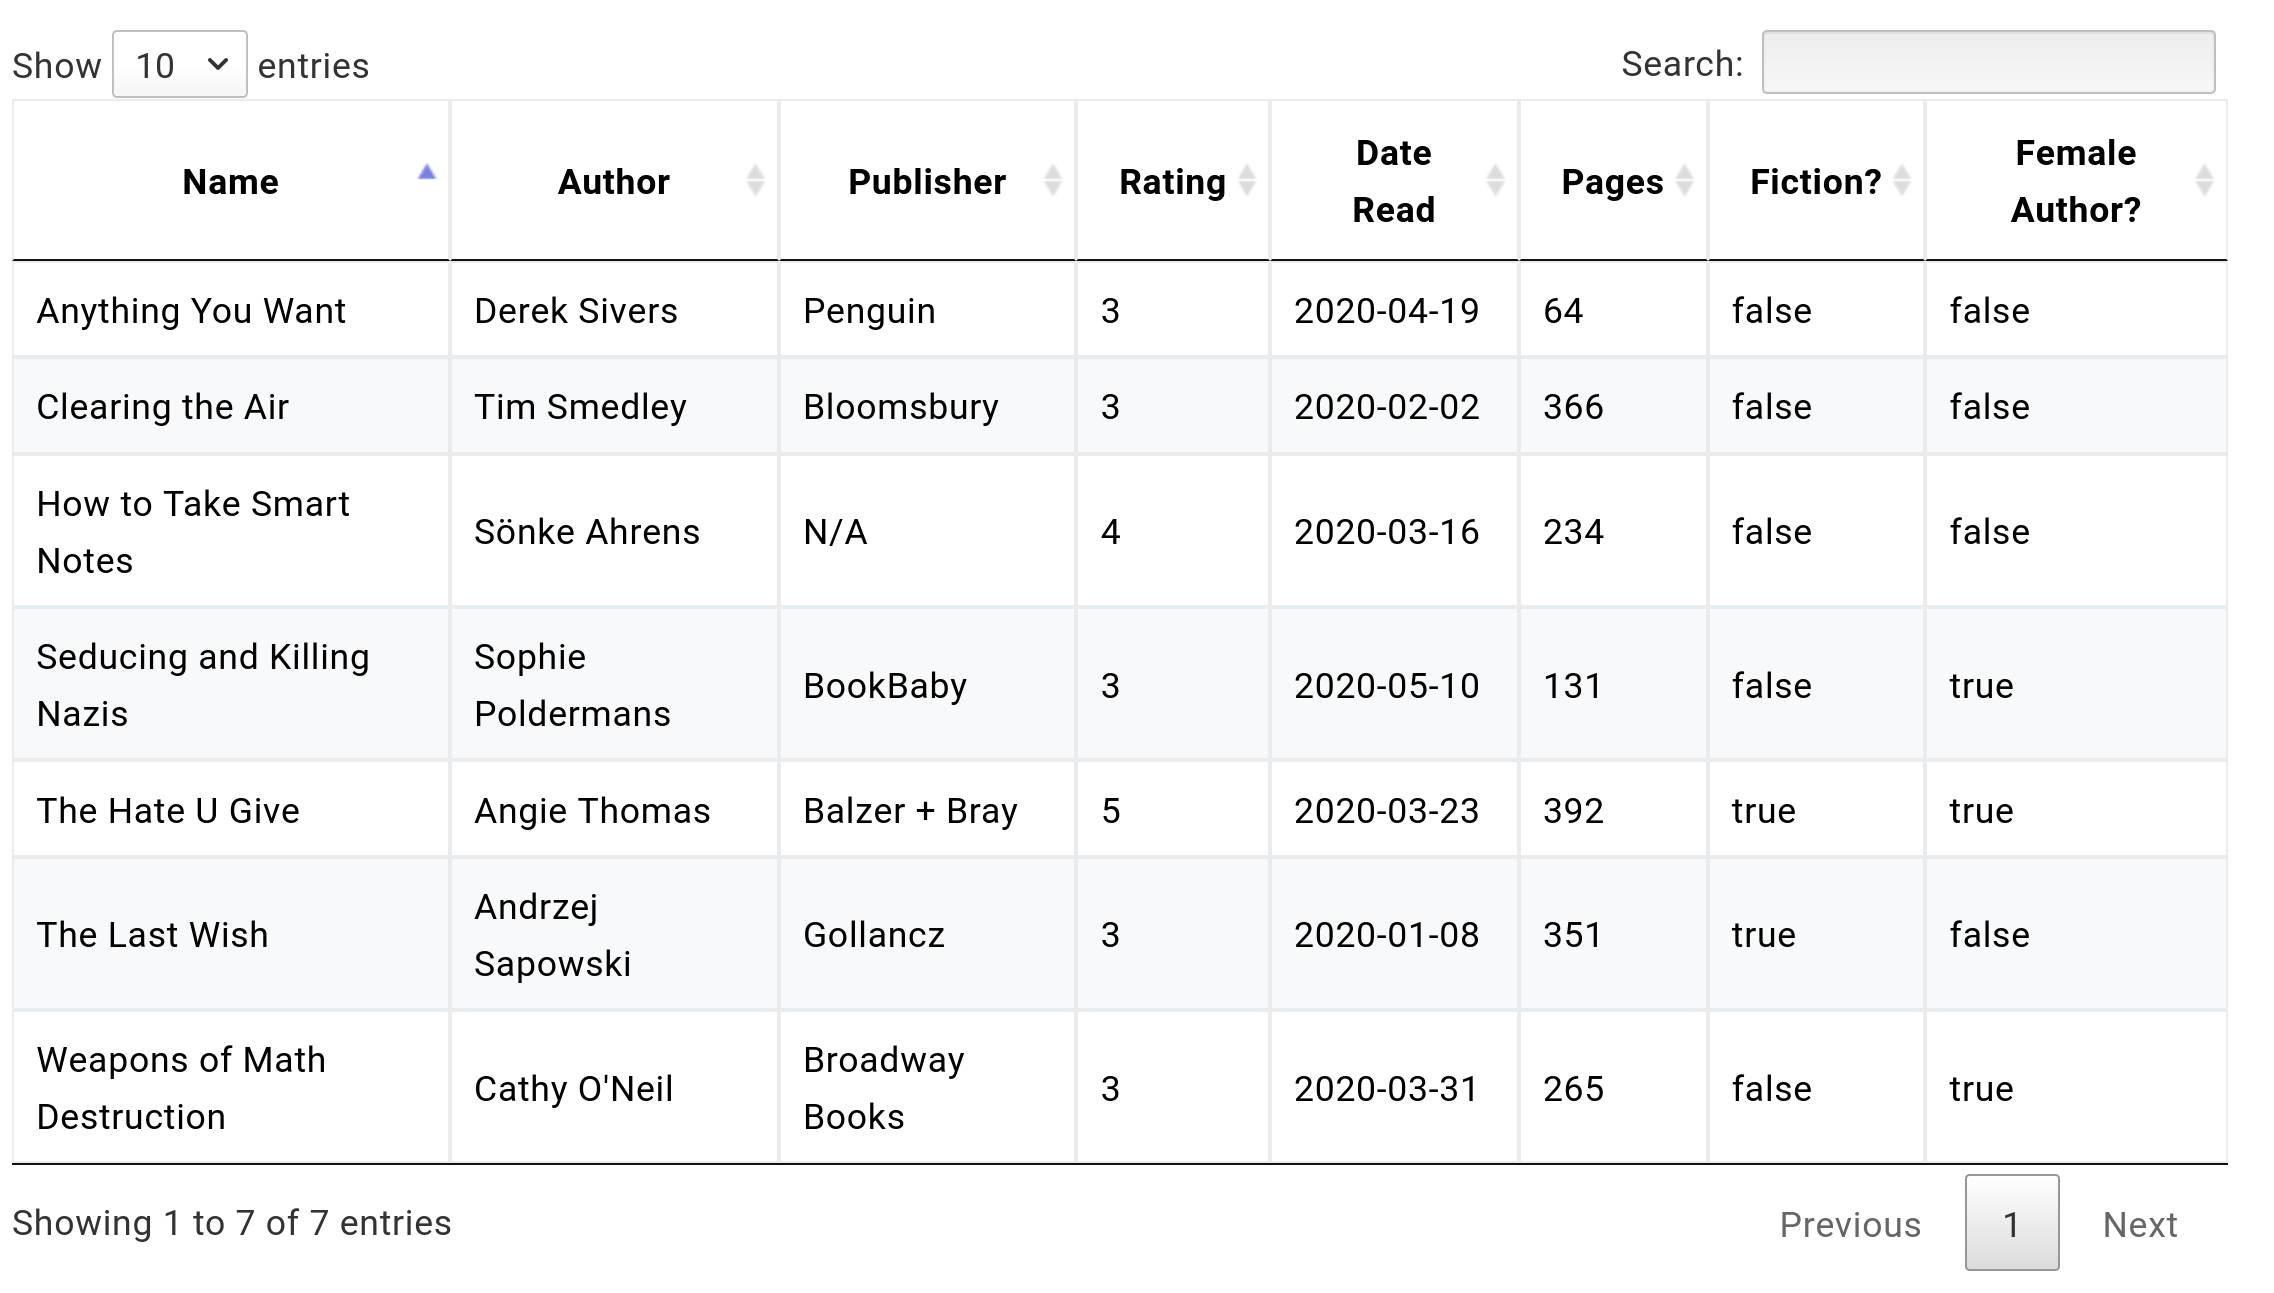
So far we've achieved the basic HTML table that we can't do much with. We can't search through it, order by rows or do pretty much anything fancy with it. To achieve that functionality, we're going to use a jQuery plugin.
Improving functionality with DataTables
Now that we have the basic table up and running, we can get a little fancy with a DataTables jQuery plugin.
This plugin comes with its own plugins that you can select on the downloads page. Once you choose which plugins you want and download them, extract the them in static/.
Now we just need to add a couple of lines in the <head> element of our website. Consult your theme's documentation on how do that:
<script type="text/javascript" charset="utf8" src="/jquery-3.5.1.min.js"></script>
<link rel="stylesheet" type="text/css" href="/DataTables/datatables.css">
<script type="text/javascript" charset="utf8" src="/DataTables/datatables.js"></script>
Finally, we add a script at the bottom of our layouts/shortcodes/book-list.html:
<script>
  $(document).ready( function () {
    $('#book-table').DataTable({
      colReoder: true,
      autoFill: true,
      buttons: true,
      fixedHeader: true,
      keyTable: true,
      responsive: true,
      rowReoder: true
    });
} );
</script>
...and voila! We can now interact with our table.
